Resurfacing 101: How to Prepare for Deck Resurfacing
Is your pool deck in need of a facelift? If so, you may be considering resurfacing it. Resurfacing a deck can be a great way to restore its former glory and extend its lifespan. But before you begin the resurfacing process, there are a few things you need to do to prepare your deck.
1. Clean the Surface
The first step is to clean the surface of your deck. This will help ensure that the new surface adheres properly and gives you a clean slate to work with. Use a pressure washer or strong hose to remove any dirt, grime, or algae that have built up on the surface.
2. Remove any Loose Material
Once the surface is clean, inspect it for any loose material that could come loose during the resurfacing process. This could include tiles, pavers, or other decking material. If you find any loose material, remove it before proceeding.
3. Repair Cracks or Damage
Next, take a look for any cracks or damage on the surface of your deck. These need to be repaired before resurfacing as they can cause problems with the new surface. Use a concrete repair kit to fill in any cracks and smooth out any damaged areas.
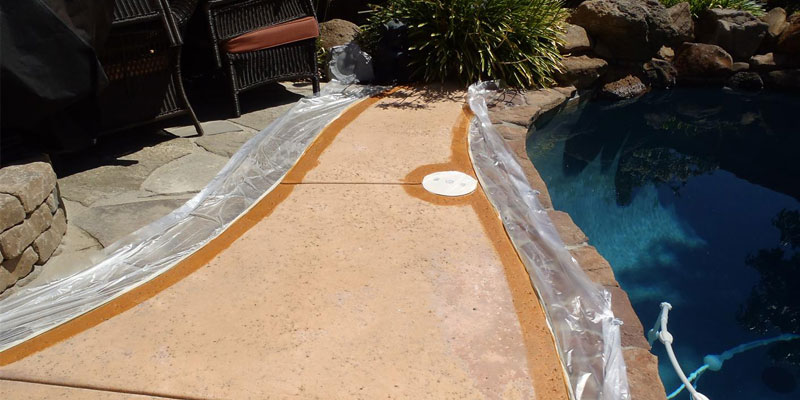
4. Mask Off Areas That Won’t be Resurfaced
Once you’ve prepped the surface of your deck, it’s time to begin masking off any areas that won’t be resurfaced. This includes pool coping, handrails, and any other areas that you don’t want to be covered in the new surface. Use painter’s tape or other masking materials to cover these areas and protect them from resurfacing material.
5. Choose Your Resurfacing Material
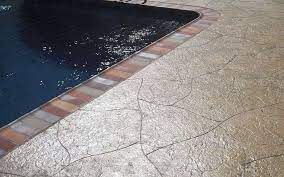
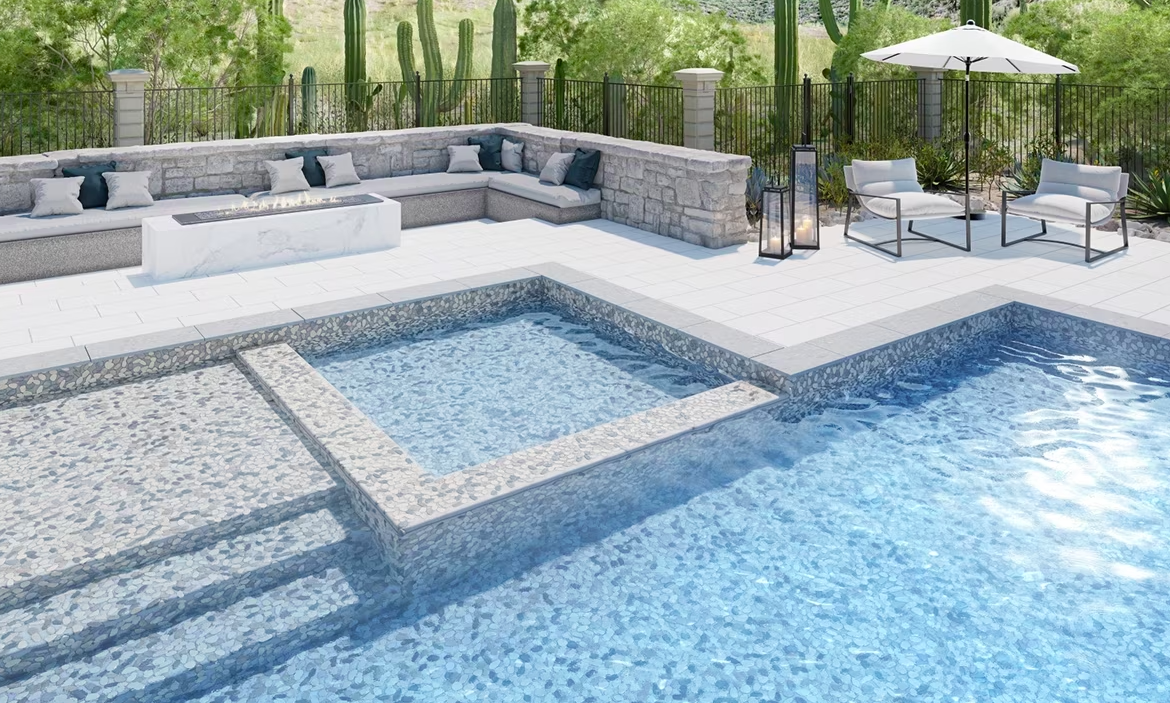
Now it’s time to select the material you’ll use for your deck resurfacing project. There are a variety of options available, so choose one that best suits your needs. Popular choices include concrete, tile, stone, and brick pavers.
6. Prepare the Resurfacing Material
Once you’ve chosen your resurfacing material, it’s time to prepare it for installation. This process will vary depending on the type of material you’ve selected. For example, if you’re using concrete, you’ll need to mix it with water according to the manufacturer’s instructions.
7. Install the Resurfacing Material
Now it’s time to install your new resurfacing material. Begin by spreading a layer of material over the entire surface of your deck. Then, use a trowel or other tool to smooth it out and achieve the desired finish. Once the material is in place, allow it to cure according to the manufacturer’s instructions before using your deck again.
Following these simple steps will help you prepare your pool deck for a successful resurfacing project. By taking the time to prep your deck, you can ensure that the new surface will look its best and last for many years!
Pool Deck Resurfacing and Damaged Concrete: Learn the Facts
Your pool deck takes a beating from the sun, weather, and pool chemicals year after year.
Eventually, all that wear and tear will take its toll, and you’ll be faced with the need to resurface your deck. Resurfacing is a great way to bring new life to your old deck and extend its lifespan.
But what if the concrete has severe damage? This can make this more complicated. Here’s what you need to know about resurfacing pool decks with damaged concrete.
1. The Concrete Must be in Good Condition
One of the most important things to consider before resurfacing is the condition of the concrete. If the concrete is in good condition, then resurfacing is often a viable option.
However, if the concrete is severely damaged, it may not be able to support a new surface. In this case, resurfacing may not be an option, and you’ll need to replace the deck entirely.
2. The Damage Must be Repaired First
If the concrete is in good enough condition to be resurfaced, then the next step is to repair any damage that exists. This could include cracks, chips, or other imperfections.
If the damage is severe, it’s important to have it repaired by a professional before resurfacing. Otherwise, the new surface may not adhere properly or could be susceptible to further damage.
3. Choose the Right Resurfacing Material
Once the concrete is repaired, it’s time to choose a resurfacing material. There are a variety of options available, so it’s important to select one that will best meet your needs.
For example, if you’re looking for a durable surface that can withstand heavy traffic, then concrete may be the best option. However, if you’re looking for a more decorative finish, then tile or stone might be a better choice.
4. Follow the Manufacturer’s Instructions
Once you’ve selected a resurfacing material, it’s important to follow the manufacturer’s instructions carefully. This will ensure that the material is installed correctly and will perform as expected.
5. Enjoy Your New Deck!
After the resurfacing material is in place, you can sit back and enjoy your new deck! With proper care and maintenance, your deck will look great and last for many years to come.